Step 5
After the initial setup was done, and you're able to access the WebUI on your local network, it's time to connect your PandaGarage to your garage door motor (if not done already). You will see that the status on the WebUI shows "not connected" below the garage door. That's because the garage door motor needs to perform a bus scan to actually find the new connected device.
Depending on your garage door motor model, there are two ways to perform this scan:
-
ProMatic Serie 4 Use the bottom dip switch, to start the bus scan.
-
SupraMetic E/P Serie 4 Use the buttons on the front panel to navigate to menu 37 and start the bus scan (option 01). See this german tutorial.
When the bus scan was successfully, you will see that the status changed on the Dashboard to the current garage door state (you may need to refresh the web page).
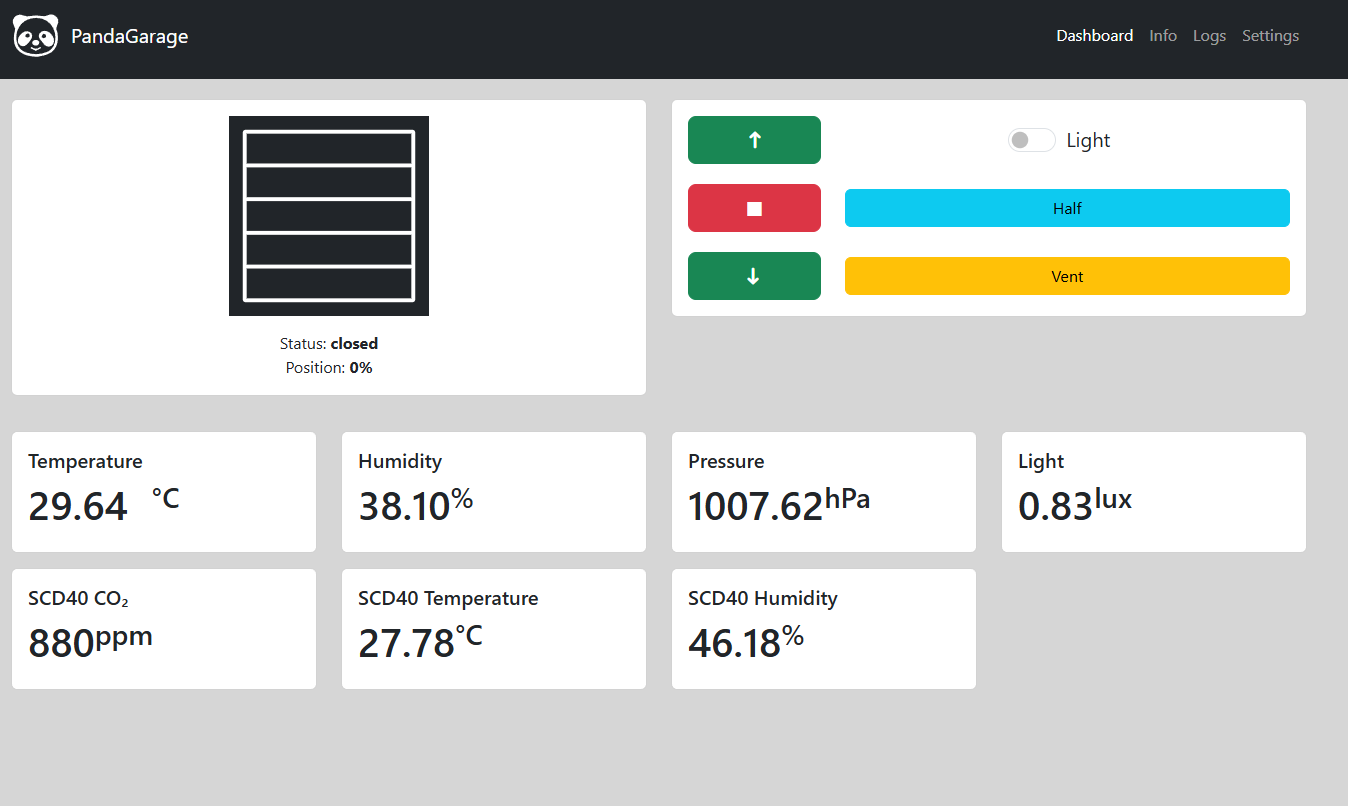
On your Dashboard you can control the door with basic up, down and stop commands, turn the light on / off or use the position commands for venting and half opening the door. You will see a little animation on door movement and see a visual representation of door position.
Below the door controls are the sensor readings of the onboard sensors, and if enabled, the external sensor readings. The sensor values are updated if their values change without a page refresh.
Now you're ready to use your PandaGarage. Be sure to check the settings guide for more details on all the functions PandaGarage provides.